Getting Started - Setup for OTA Deployment
In this guide, we’ll get your Distiller project setup for over-the-air deployment with Testflight (other services coming). This process involves a lot of Apple Developer Center interaction, and can be pretty tedious. So, take your time.
Use Safari
Open a Safari browser for the steps involving Apple. While other browsers may work, it’s not guaranteed. Use Safari and save yourself some frustration.You need to enter the OTA configuration process from any Build Details page or from the Project Settings page.
Step 1. Download the Distiller CSR
To deploy a build from Distiller, we need to be able to sign your code. To do that, you’ll need to generate a new Apple Certificate. Click the “Download CSR” button and your Distiller CSR (“distiller.certSigningRequest”) will download to your machine. Keep that file handy.
Step 2. Log into your Apple Developer account and get to your certificate list.
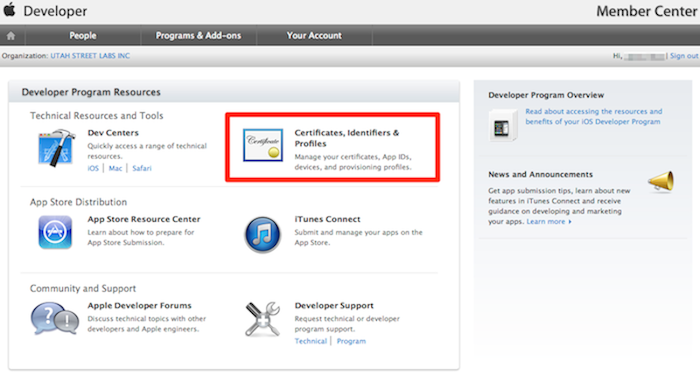
Go to https://developer.apple.com/, log in, and navigate to “Certificates, Identifiers, & Profiles.”
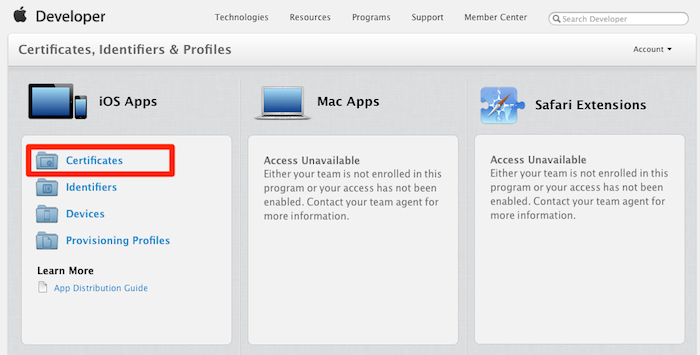
Select “Certificates” and navigate to your iOS Certificate list.
Step 3. Create a New Certificate
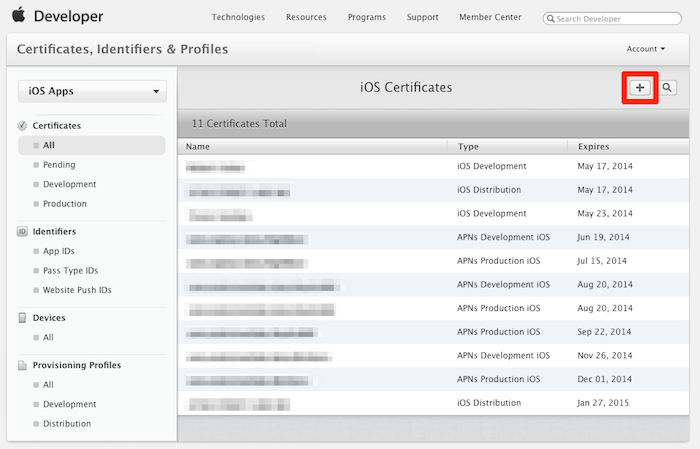
You should be viewing your list of iOS Certificates. We need to create a new one for your Distiller builds. Click on the “+” button to enter the Add a New Certificate flow.
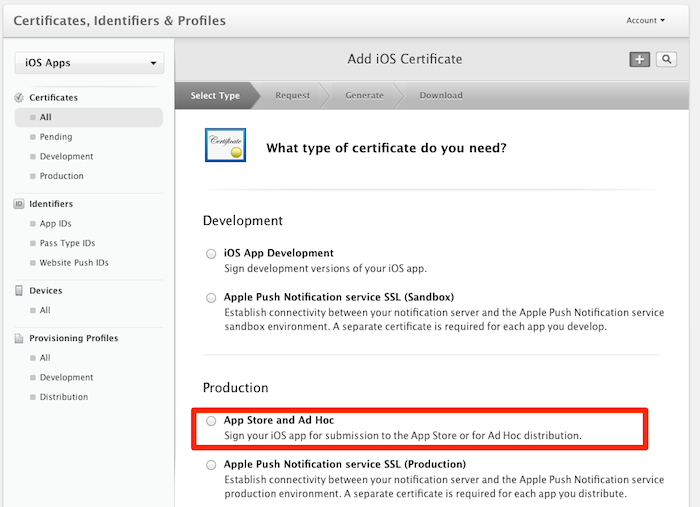
Step 4. Select Certificate Type
Select “App Store and Ad Hoc” for the type of certificate you wish to create and click “Continue.”
Ignore the next page
Ignore the next page. We’ve already generated a CSR for you. Just click “Continue”Step 5. Upload your Distiller CSR
You should now see a file selector to select the CSR for your new certificate.
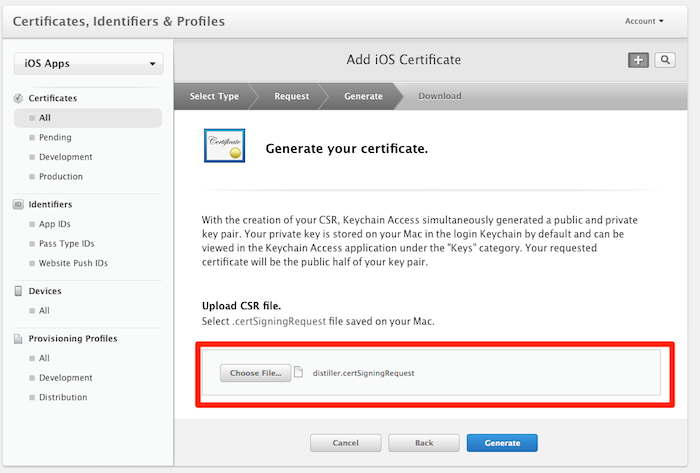
Select the CSR file that you downloaded just before (“distiller.certSigningRequest”) and then click “Generate.”
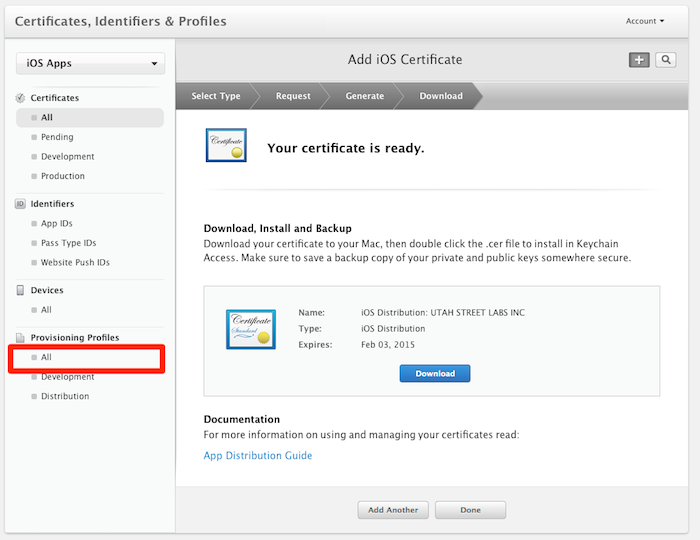
DONE. Your new Apple Certificate has been generated. You can choose to download it if you choose, but it’s not necessary to deploy your Distiller project.
Step 6. Create a New Provisioning Profile
We need to create a new provisioning profile for your Distiller project. A Provisioning Profile defines who can install and use your non-released app (developers, testers, etc.)
Click “Provisioning Profiles > All” on the left nav.
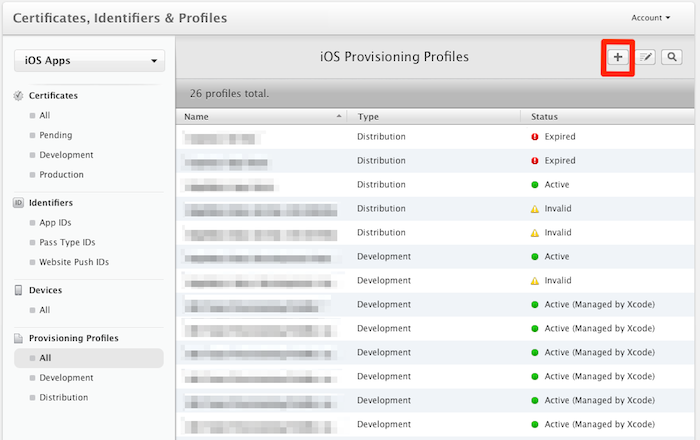
You should see a list of all of your existing provisioning profiles. Click the “+” button to generate a new profile.
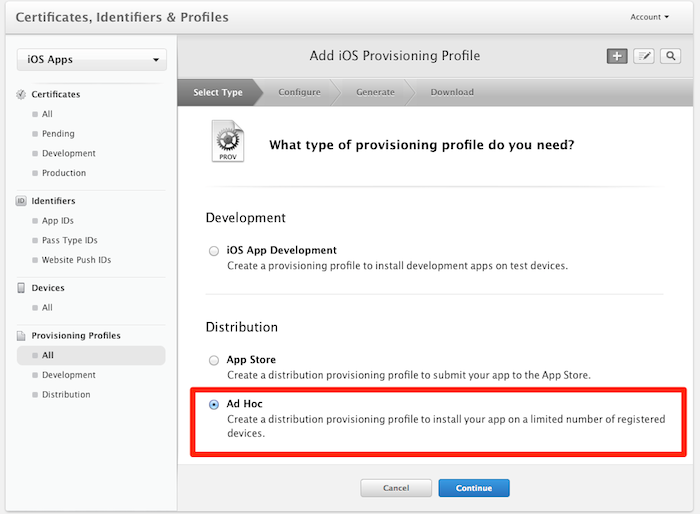
Step 7. Select Provisioning Profile Type
You should see the Select Profile Type page. Select “Ad Hoc” as the provisioning profile type and click “Continue.”
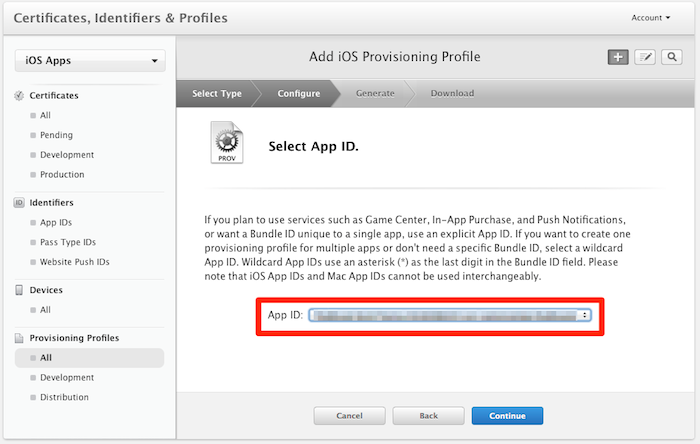
Step 8. Select the App ID for the Provisioning Profile
Select the App ID of the project you are building on Distiller, then click “Continue.”
Step 9. Select the Certificate for the Provisioning Profile
Now, associate this new provisioning profile with the new Distiller certificate you just generated. Select the certificate you just created. Click “Continue.”
Find Certificates by Expiration Date
You will have more than one certificate with the same name. This is a known Apple quirk. You have to use the expiry date of the certificate to find the right one. It will be 1 year from the day it was created. If you just created a new certificate, it will be 1 year from today.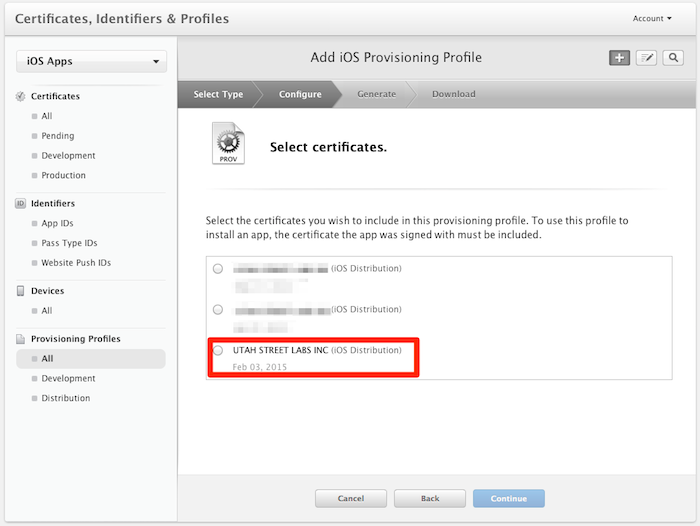
Step 10. Select the devices for the Provisioning Profile
Now, you can select which devices will be able to download and install the app. Select the devices from your device list and click “Continue.”
Manage users at build level
Any device on the provisioning profile will be able to download and install any build that uses that particular provisioning profile. However, Testflight, Hockey and other OTA providers will allow you to notify and restrict access to the build via distribution lists. So, it’s OK to have a very broad list of test and development devices in your provisioning profile.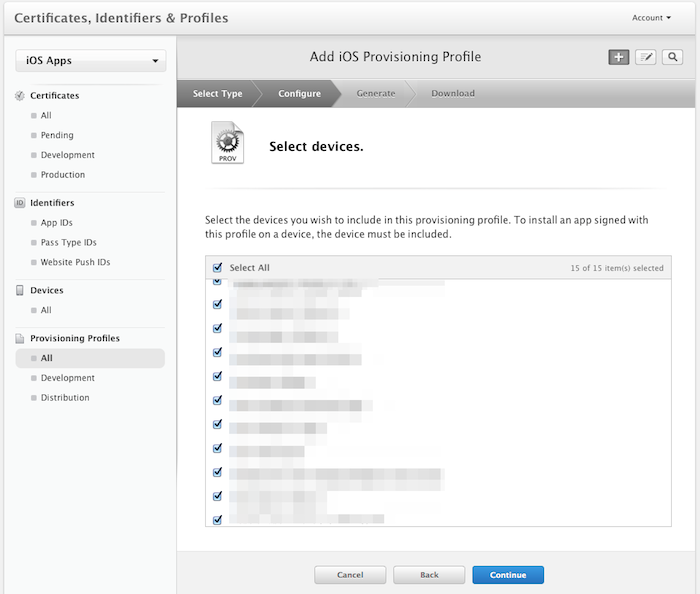
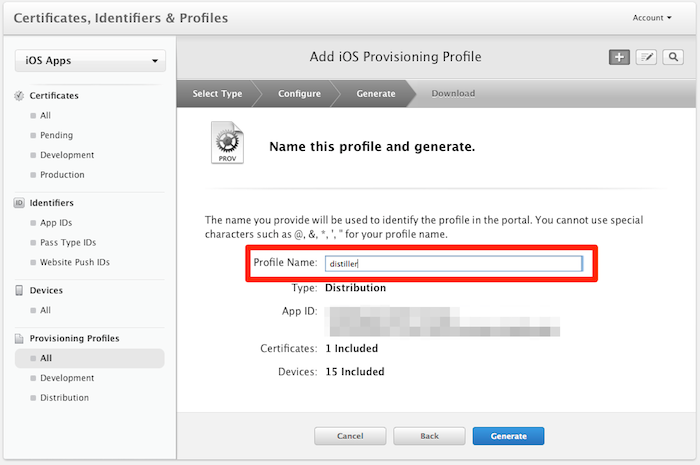
Step 11. Name and Generate the Provisioning Profile
You’re now ready to save the provisioning profile. Enter “distiller” as the profile name and click “Generate.”
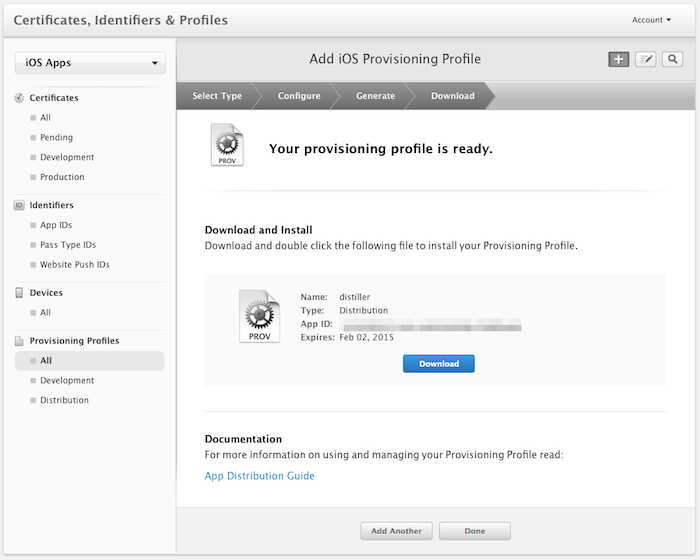
Step 12. Download your Provisioning Profile
Down the new provisioning profile you just created to your machine, which will be named “distiller.mobileprovision”. Keep that handy.
Step 13. Add the Provisioning Profile to your Git Repository.
Locate the iOS project that you’re building on Distiller. From the root directory, find the /profiles folder (create one if it does not exist). Add the “distiller.mobileprovision” document to this folder. Commit your change and sync the repo with GitHub. This will trigger a new build on Distiller.
Step 14. Add your OTA settings to your repository.
Testflight and Hockey now available
As of 5/20, Distiller is integrated with Testflight and Hockey for OTA deployment. An active Testflight or Hockey App account is required to deploy Distiller builds to users.For Testflight users:
Add your Testflight API Token and Team Token to your project. You can locate these tokens here:
API Token: https://www.testflightapp.com/account/#api
Team Token: https://testflightapp.com/dashboard/team/edit/
Click “Save” and you’re all set to deploy new builds to users.
For Hockey Users:
You will need to create an API token for your account.
- Go to your Hockey account's token page (https://rink.hockeyapp.net/manage/auth_tokens)
- Create a new API Token. Use the settings "All Apps" and "Full Access" and name the token "Distiller."
- Click "Create"
- Now copy the token and go back to Distiller and paste it into the API token field.
Click "Save" and you're all set to deploy new builds to users.
Go to the build details page. On a successful build, you will now see a “Deploy Now” button in the upper right hand corner. You can now deploy.